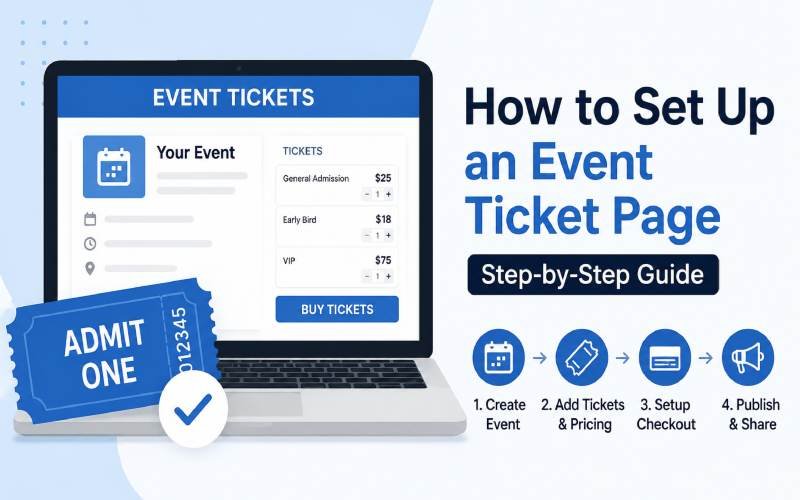
If this is your first time selling tickets online, the process can feel more complicated than it needs to be. The good news: once you understand the actual steps involved, setting up an event ticket page is straightforward — regardless of which platform you choose. To verify the exact timeline, I configured a test event page on Eventbrite from scratch—it took under 15 minutes to generate a ready-to-publish checkout workflow.
This guide walks through how to set up an event ticket page from start to finish, covering the parts that matter most: choosing a platform, entering your event details correctly, setting pricing, and making sure checkout actually works before you go live.
Step 1: Choose Your Platform Before You Start
Every platform organizes its setup flow a little differently, so knowing how to set up your event ticket page really starts with picking the right platform for your event size and budget. Smaller events with simple needs often do fine with lighter platforms, while larger or recurring events may need something with more built-in marketing or check-in tools.
Once you’ve picked a platform, the general setup steps below will apply, even if button names or menu locations differ slightly.
Step 2: Configuring the Event Core (Manual vs AI Shell)
Most platforms start the same way: you’ll click something like “Create Event” and be asked for basic details first. Many platforms now also offer an AI-assisted setup option alongside the traditional “start from scratch” path — either works, but building from scratch gives you more control over the details for your first event.
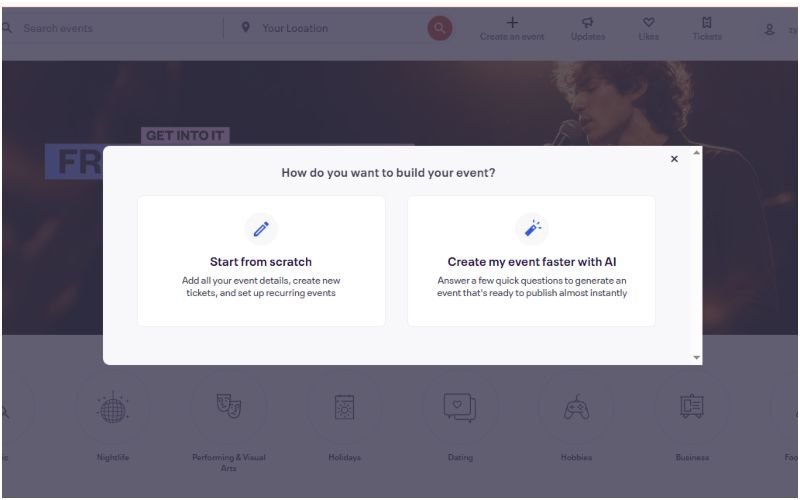
At minimum, you’ll need:
- Event name — clear and specific, avoid vague titles
- Date and time — including time zone if you expect out-of-town or online attendees
- Location — physical address, or “Online” if it’s a virtual event
- Short description — one or two sentences summarizing what the event is
Don’t worry about making this perfect yet. Most platforms let you save a draft and come back to refine details later.
Step 3: Writing Descriptions That Reduce Support Tickets
This is where you explain what attendees are actually signing up for. A strong event description usually includes:
- What the event covers and who it’s for
- What’s included (sessions, meals, materials, etc.)
- Any schedule or agenda highlights
- What makes this event worth attending
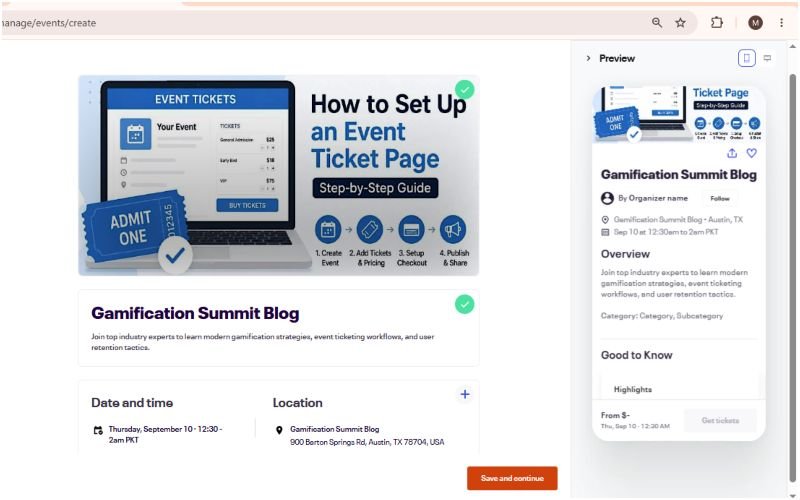
Keep this section honest and specific. Vague descriptions lead to more support questions later and can hurt trust before someone even reaches checkout.
Step 4: Managing Ticket Tiers and Price Architecture
This step is central to how to set up an event ticket page correctly, since pricing mistakes are hard to fix once tickets start selling. Common ticket type structures include:
- General Admission — one flat price for standard access
- Early Bird — a limited-time discounted price to drive early sign-ups
- VIP / Premium — higher price with added perks
- Group or Team pricing — discounted rate for multiple tickets bought together
For each ticket type, you’ll typically set:
- Price
- Quantity available
- Sale start and end dates
- Any access restrictions (e.g., VIP-only areas)
Double-check currency settings and time zones here — this is one of the most common setup mistakes, especially for events with an international audience.
Step 5: Form Fields and Onsite Payment Optimization
This is the step people skip testing, and it’s the one most likely to cost you sales if something’s wrong.
Things to configure and check:
- Payment methods accepted (cards, digital wallets, bank transfers — depends on your platform and payment processor)
- Required attendee information (name, email, and anything else you actually need — don’t ask for more than necessary, it increases drop-off)
- Confirmation email — customize this if your platform allows it, so attendees get clear next steps immediately after purchase
- Refund policy — set this clearly before you launch, not after your first refund request
Step 6: Test the Full Purchase Flow Yourself
Before sharing your ticket page publicly, buy a test ticket yourself (most platforms offer a test mode, or you can use a $0 or small-value ticket type temporarily). Walk through the entire process as a buyer would:
- Does the page load correctly on both desktop and mobile?
- Is the pricing displayed clearly?
- Does the confirmation email arrive, and does it contain the right information?
- Does the ticket itself (PDF, QR code, or app entry) generate correctly?
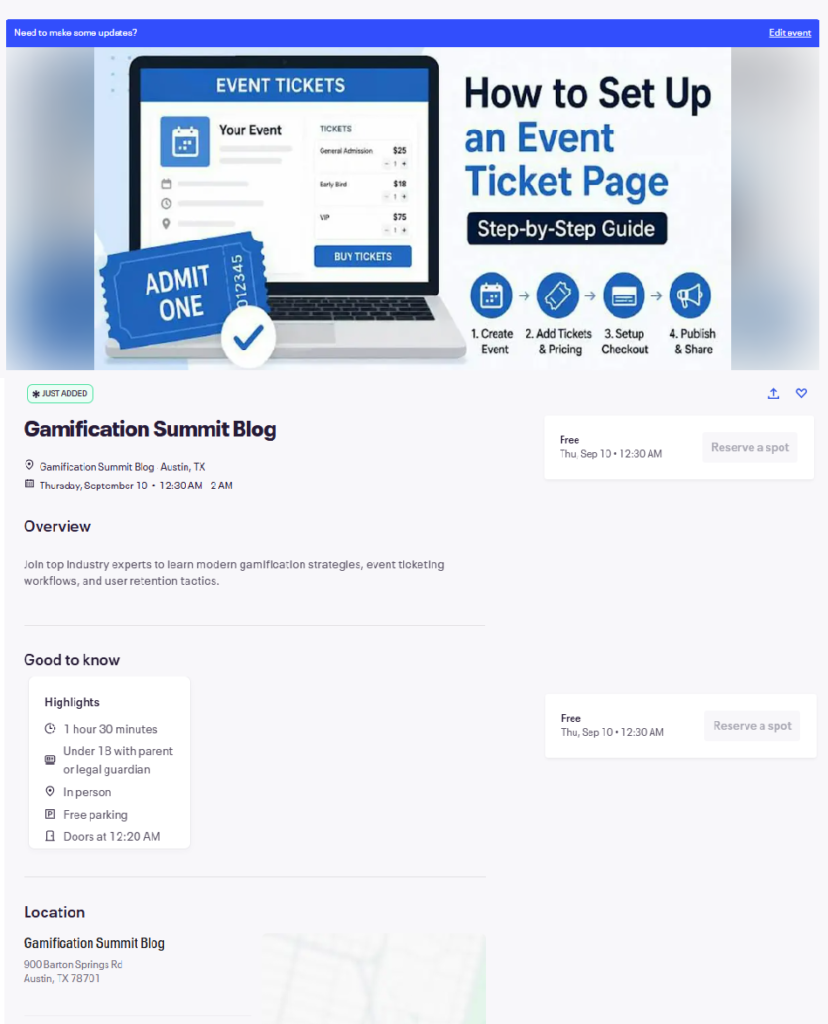
When testing this exact process on Eventbrite for this guide, the draft event setup — from account creation to a ready-to-publish ticket page — took under 15 minutes. That’s a reasonable benchmark to expect for a simple, single-ticket-type event; more complex setups with multiple ticket tiers will naturally take longer.
Skipping this step is one of the most common reasons first-time organizers run into avoidable problems on event day.
Step 7: Final Publishing and Ticket Launch Controls
Once everything checks out, publish the page and share the link across the channels your audience actually uses — email, social media, or your own website. Keep an eye on the first few sales closely in case any setup issue shows up that testing didn’t catch.
Common Mistakes to Avoid
- Publishing before testing the full checkout flow
- Setting the wrong time zone for ticket sale start/end dates
- Asking for unnecessary attendee information, which increases checkout drop-off
- Forgetting to set a clear refund policy before the first sale
- If you haven’t picked a platform yet, our comparison of the best ticket-selling platforms is a good place to start first.
Frequently Asked Questions
How long does it take to set up an event ticket page? For a straightforward event, most platforms allow you to go from account creation to a published ticket page in under an hour. Complex events with multiple ticket tiers or custom branding may take longer.
Do I need a business account to sell tickets? This depends on the platform and your local regulations. Some platforms allow individual sellers, while others require business verification, particularly once payment processing is involved. Check your chosen platform’s requirements directly before you begin.
Can I change ticket prices after publishing? Most platforms allow price changes after publishing, but changes typically only apply to tickets not yet sold. Always check your specific platform’s policy, since this varies.
Final Thoughts
Setting up an event ticket page isn’t complicated once you break it into steps — the details that matter most are accurate event information, clear pricing, and a checkout flow you’ve actually tested yourself before going live. Take the time to walk through the process as a buyer would; it’s the easiest way to catch problems before they cost you a sale.
Have a specific platform you’d like a setup walkthrough for, or run into an issue this guide didn’t cover? Get in touch — every message is read personally.
Disclaimer
This guide provides general information based on common patterns across ticket-selling platforms. Specific steps, field names, and available features vary by provider. Always refer to your chosen platform’s own documentation for the most accurate, up-to-date setup instructions.